FIXING OPTIONS
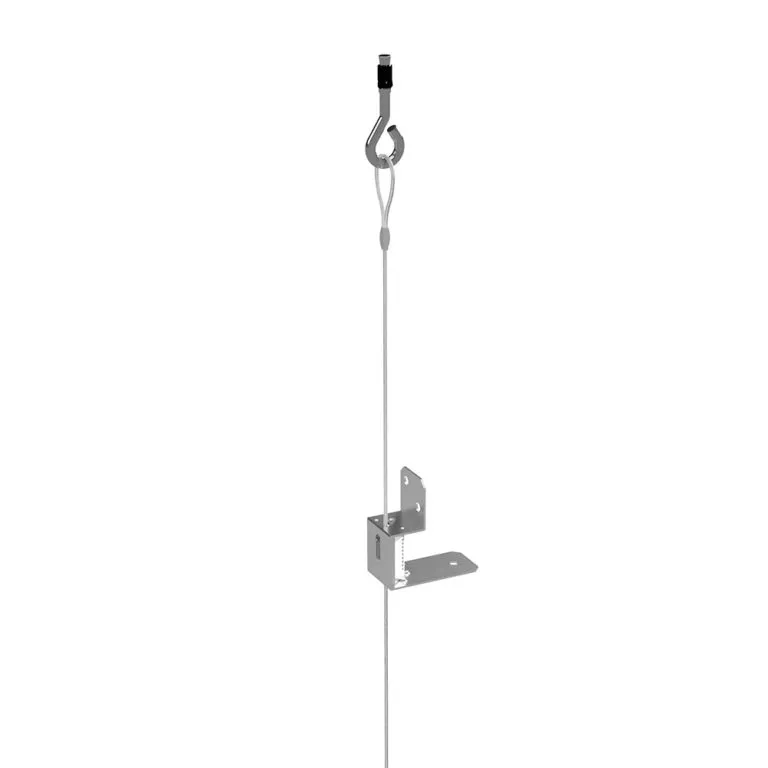
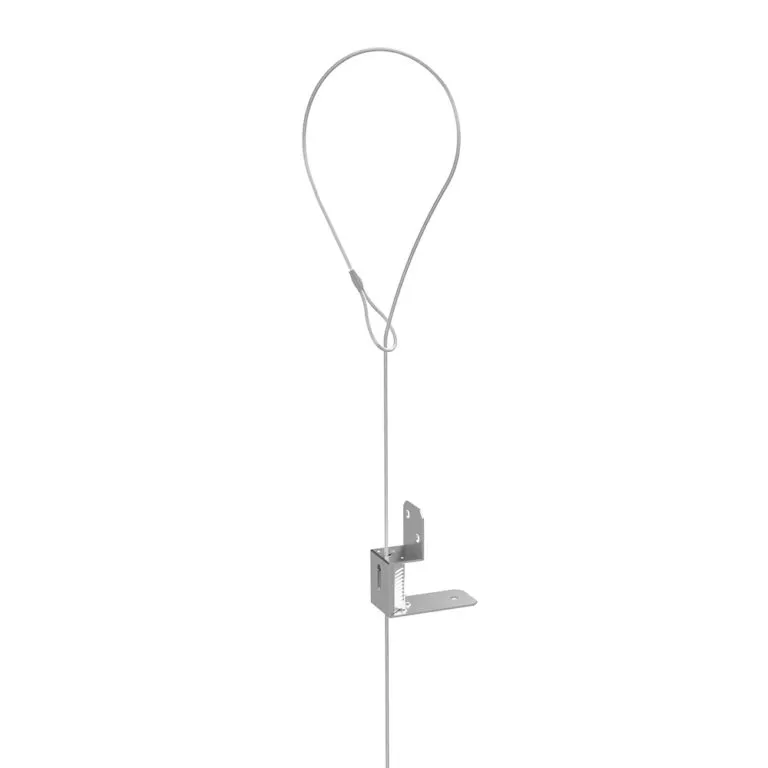
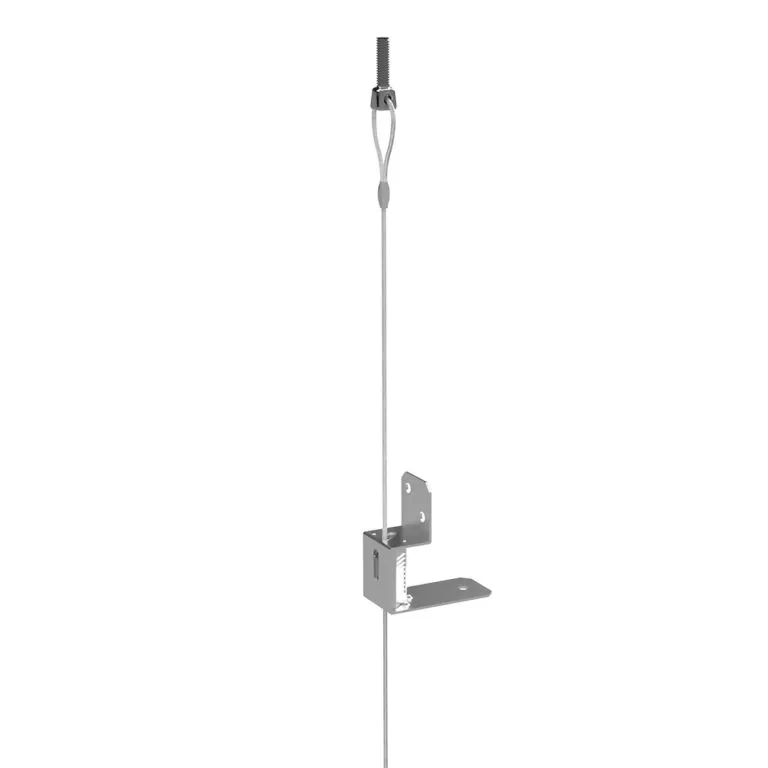
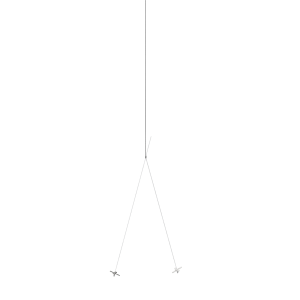
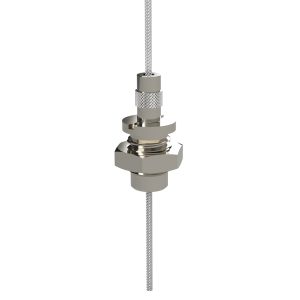
The system incorporates the following end terminations:
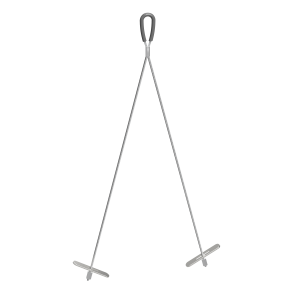
- LOOP END:
Used to create choke knot for wrap-around applications to purlin or i-beam. Ensure anchor points are suitable.
Product code suffix: KV100/LPS - M6 CONCRETE HAMMER FIXING (CLA1):
BS8539 approved with ETA, offering shallow embedment into cracked and non-cracked concrete. Ensure base material is suitable. Contact Zip-Clip for installation details.
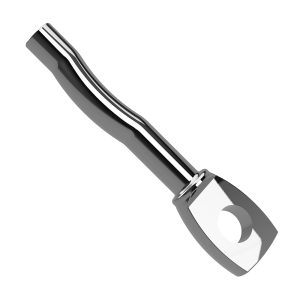
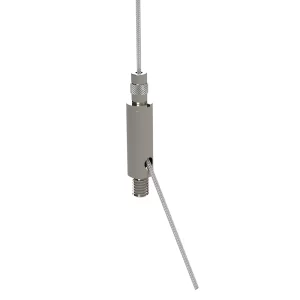
Product code suffix: KV/CLS - M8 × 25 Eye bolt ADAPTER
Used to couple with female threaded components or into through-holes. Product code suffix: KV100/M820THS
INSTALLATION
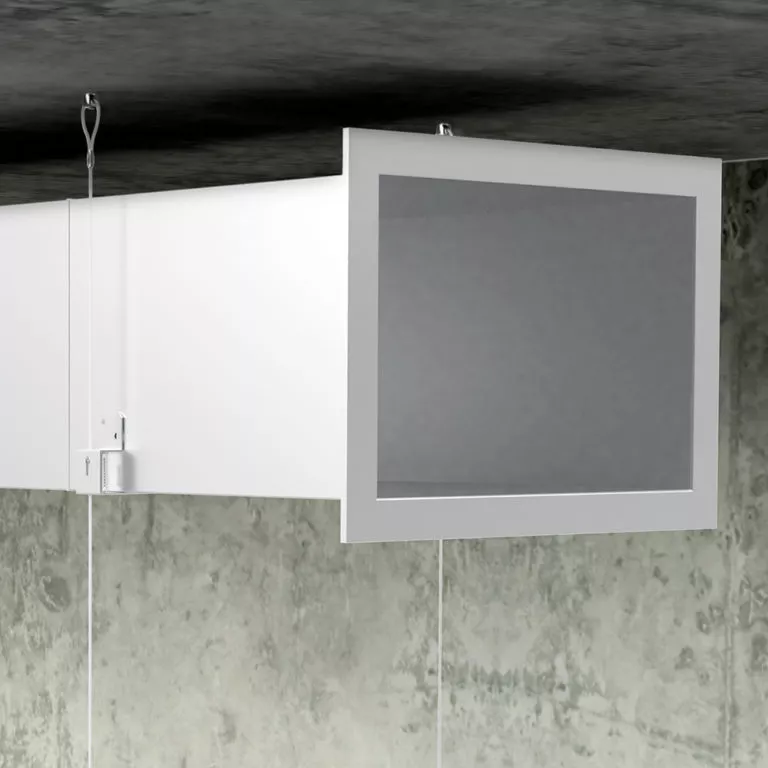
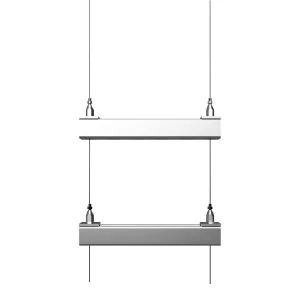
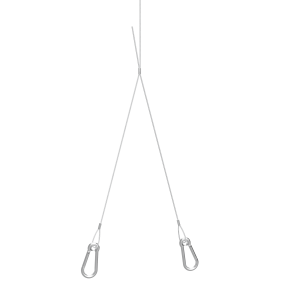
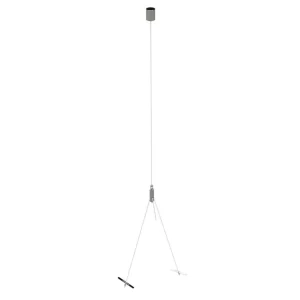
- Install the wire suspension at desired location with the required fixing (loop end, concrete anchor or M8 eye bolt).
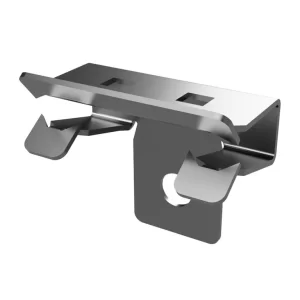
- Fix the KV bracket to the rectangular duct at the desired location. (Note, this can be done at floor level.)
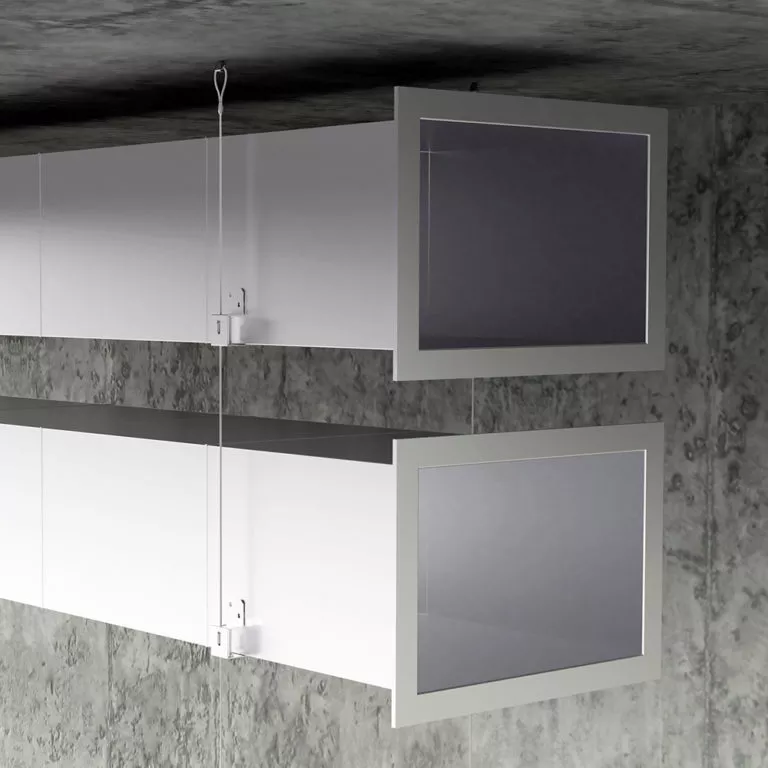
- Join the duct work to the wire suspension.
Ensure the anchor method selected is appropriate for the intended ceiling structure.
- Choke-knot for wrap-around steel work (purlins or i-beams).
- M6 concrete anchor for concrete ceilings.
- M8 eye bolt adapter to through holes or female threaded fixing.
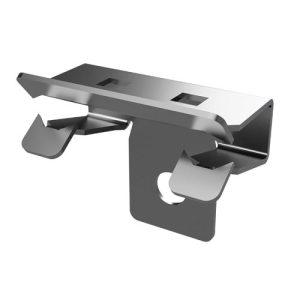
Fixing KV bracket
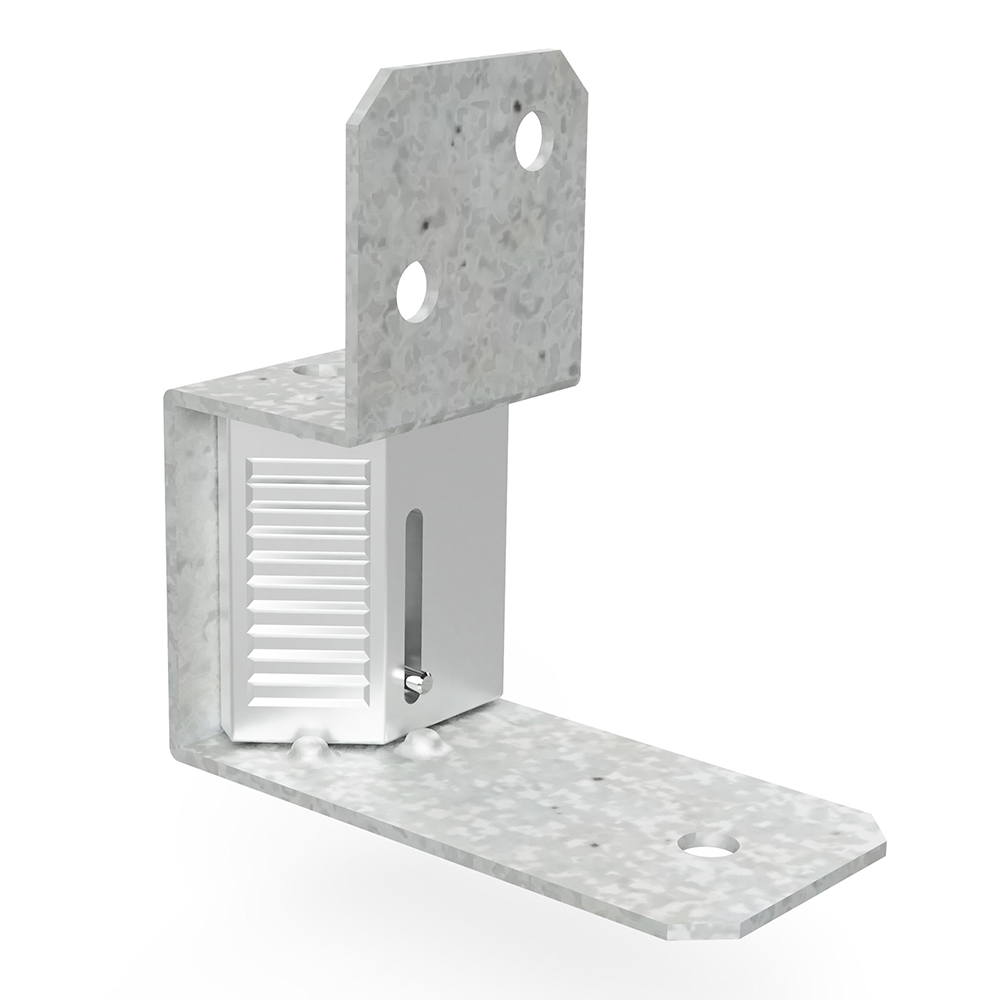
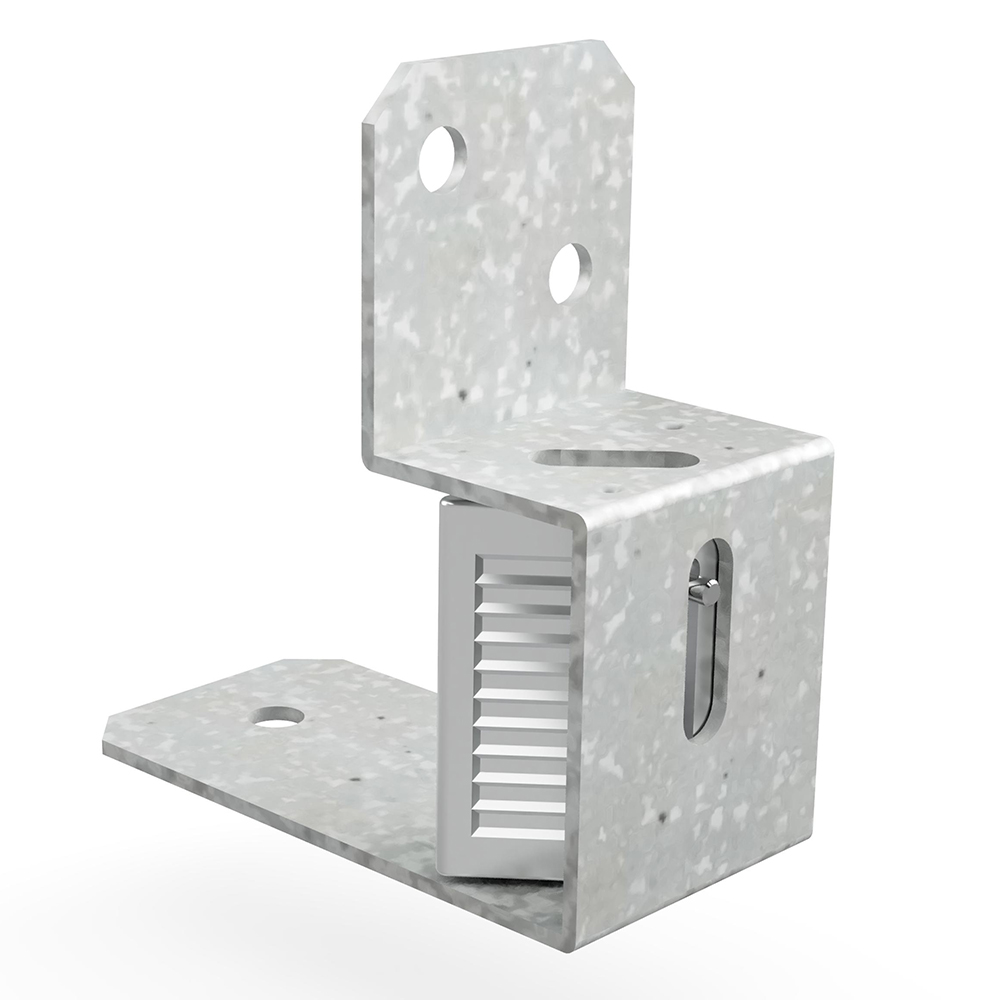
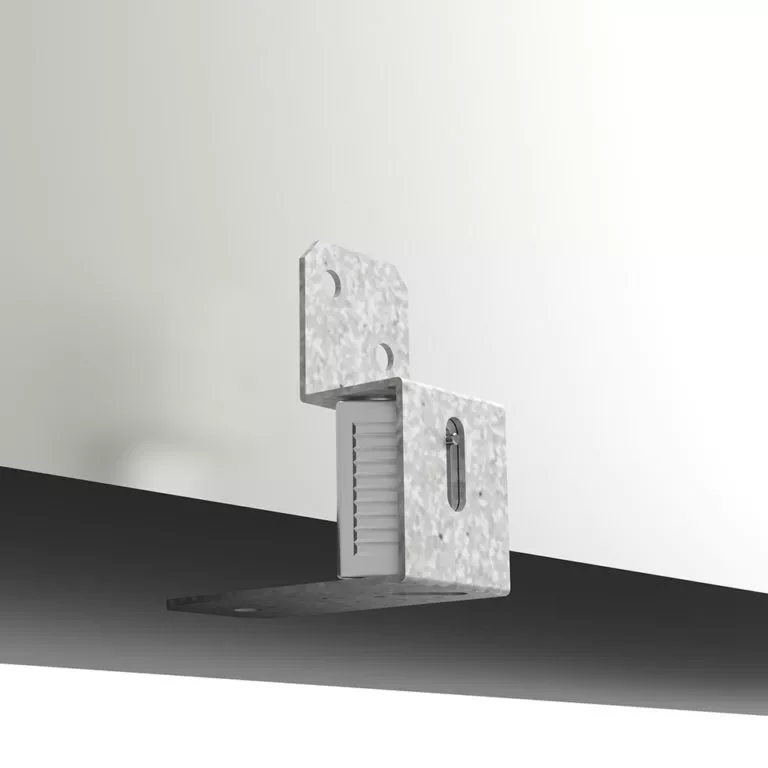
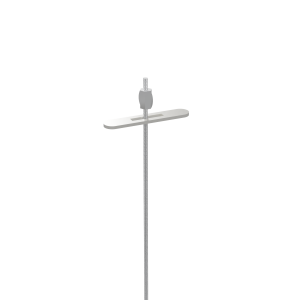
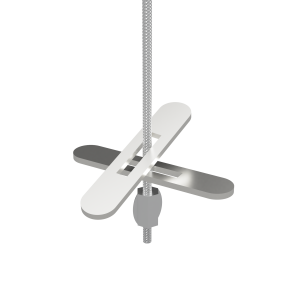
- Position bracket against corner of duct in the desired location. Note, opposing brackets must be perpendicular to each other.
- Utilise suitable sheet metal fixings to fasten the bracket into place. Please ensure a fixing is selected that will correctly fix the bracket to the duct and is appropriate for fixing into the gauge of the ductwork.
- Two fixings are required into the side wall of the duct. One fixing is required into the underside of the duct.
Joining duct with wire suspension
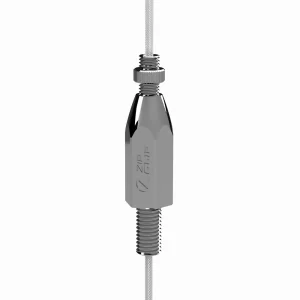
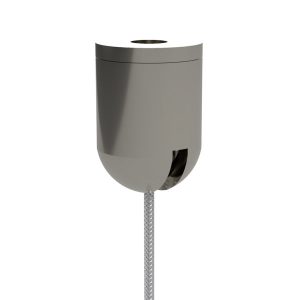
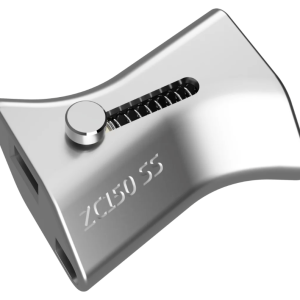
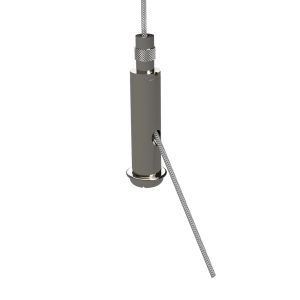
- Insert the wire rope into the top of the locking device.
- Pull wire rope through the locking device so it exits through the bottom of the bracket.
- Position duct to the required height.
- Trim excess wire rope leaving 75 mm to form a tail or coil excess wire to allow for future adjustment.
As an added safety precaution, feed the tail back into the available channel on the underside of the Zip-Clip locking device. Please note, however, this should only be done when installation is complete as adjustment will no longer be possible.


