THE APPLICATIONS
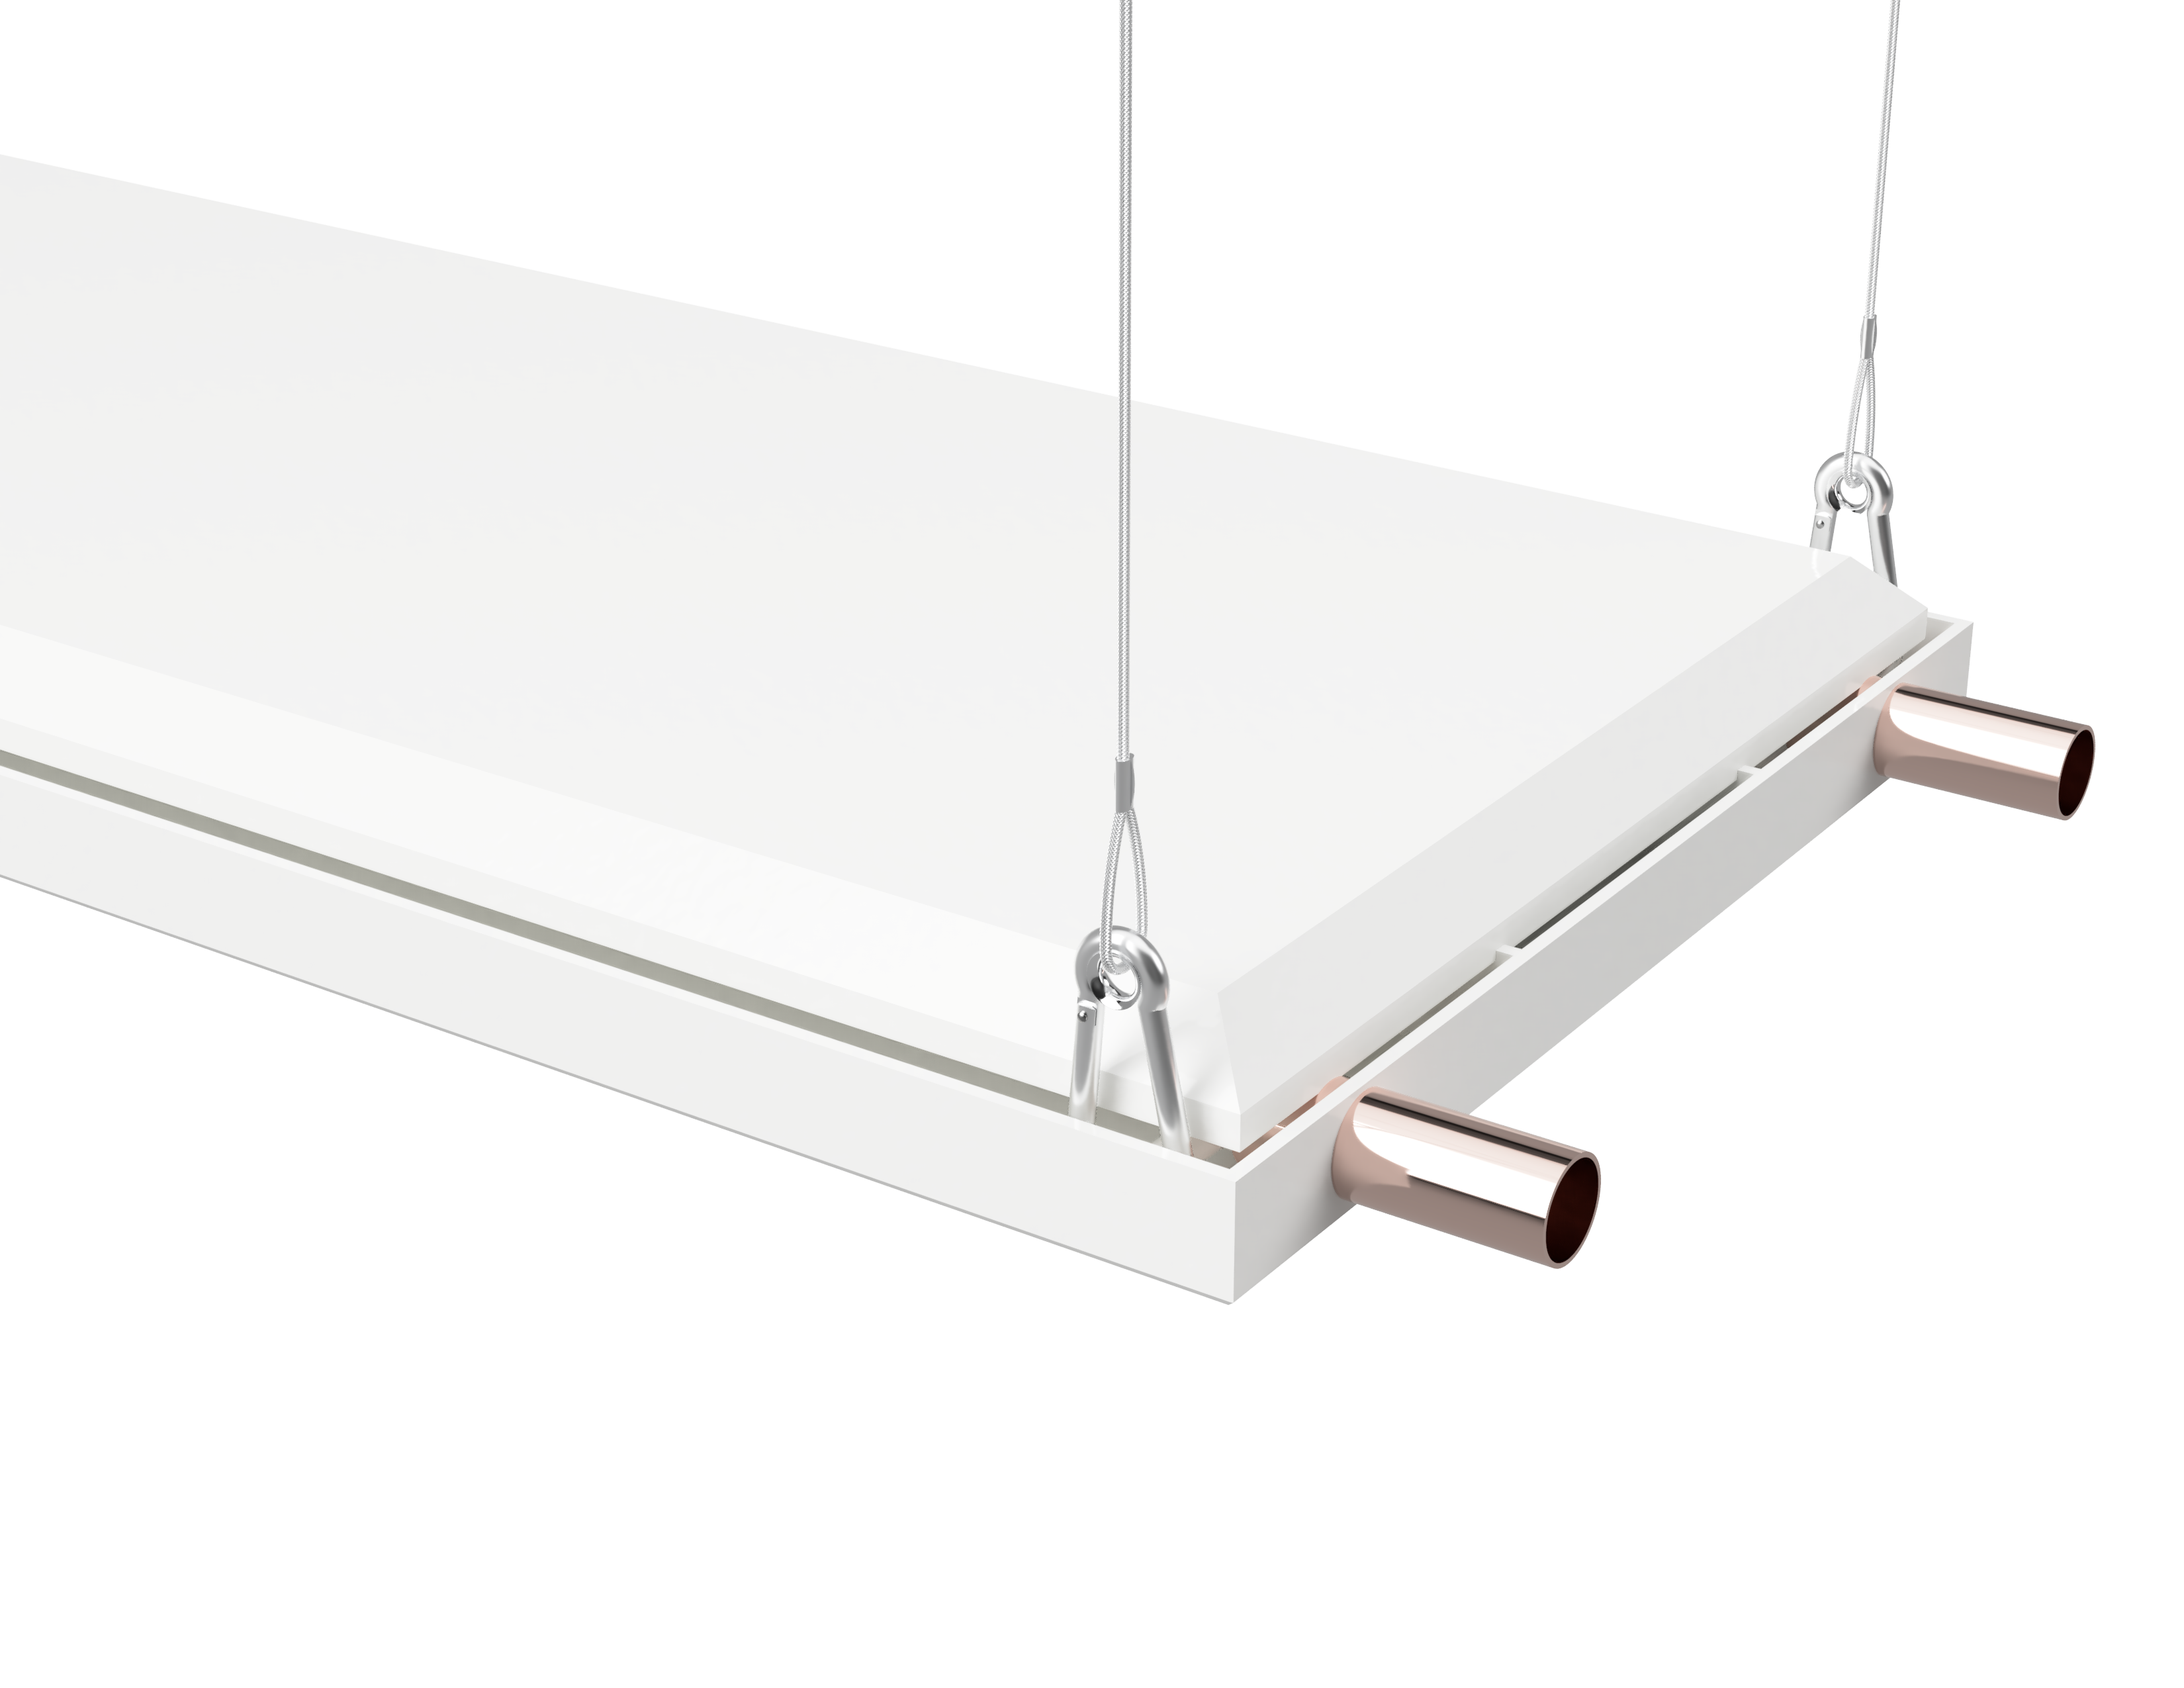
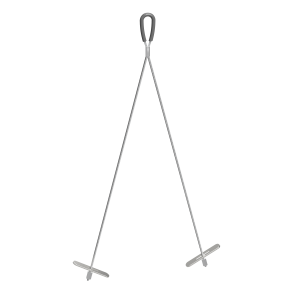
SUITABLE AREAS OF USE INCLUDE, BUT ARE NOT LIMITED TO:
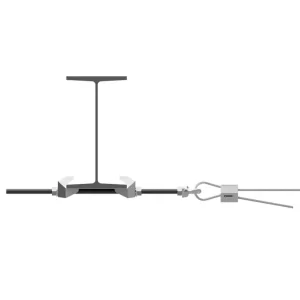
- Electrical containment
- HVAC and mechanical services
- Lighting and audio as primary or secondary support
- Signage and display, screens and partitions
- Acoustic ceilings, islands or baffles
- Radiant heat panels
AVAILABILITY
Zip-Clip offer three different Snap-It systems each allocated a letter to differentiate between the available safe working loads (SWL).
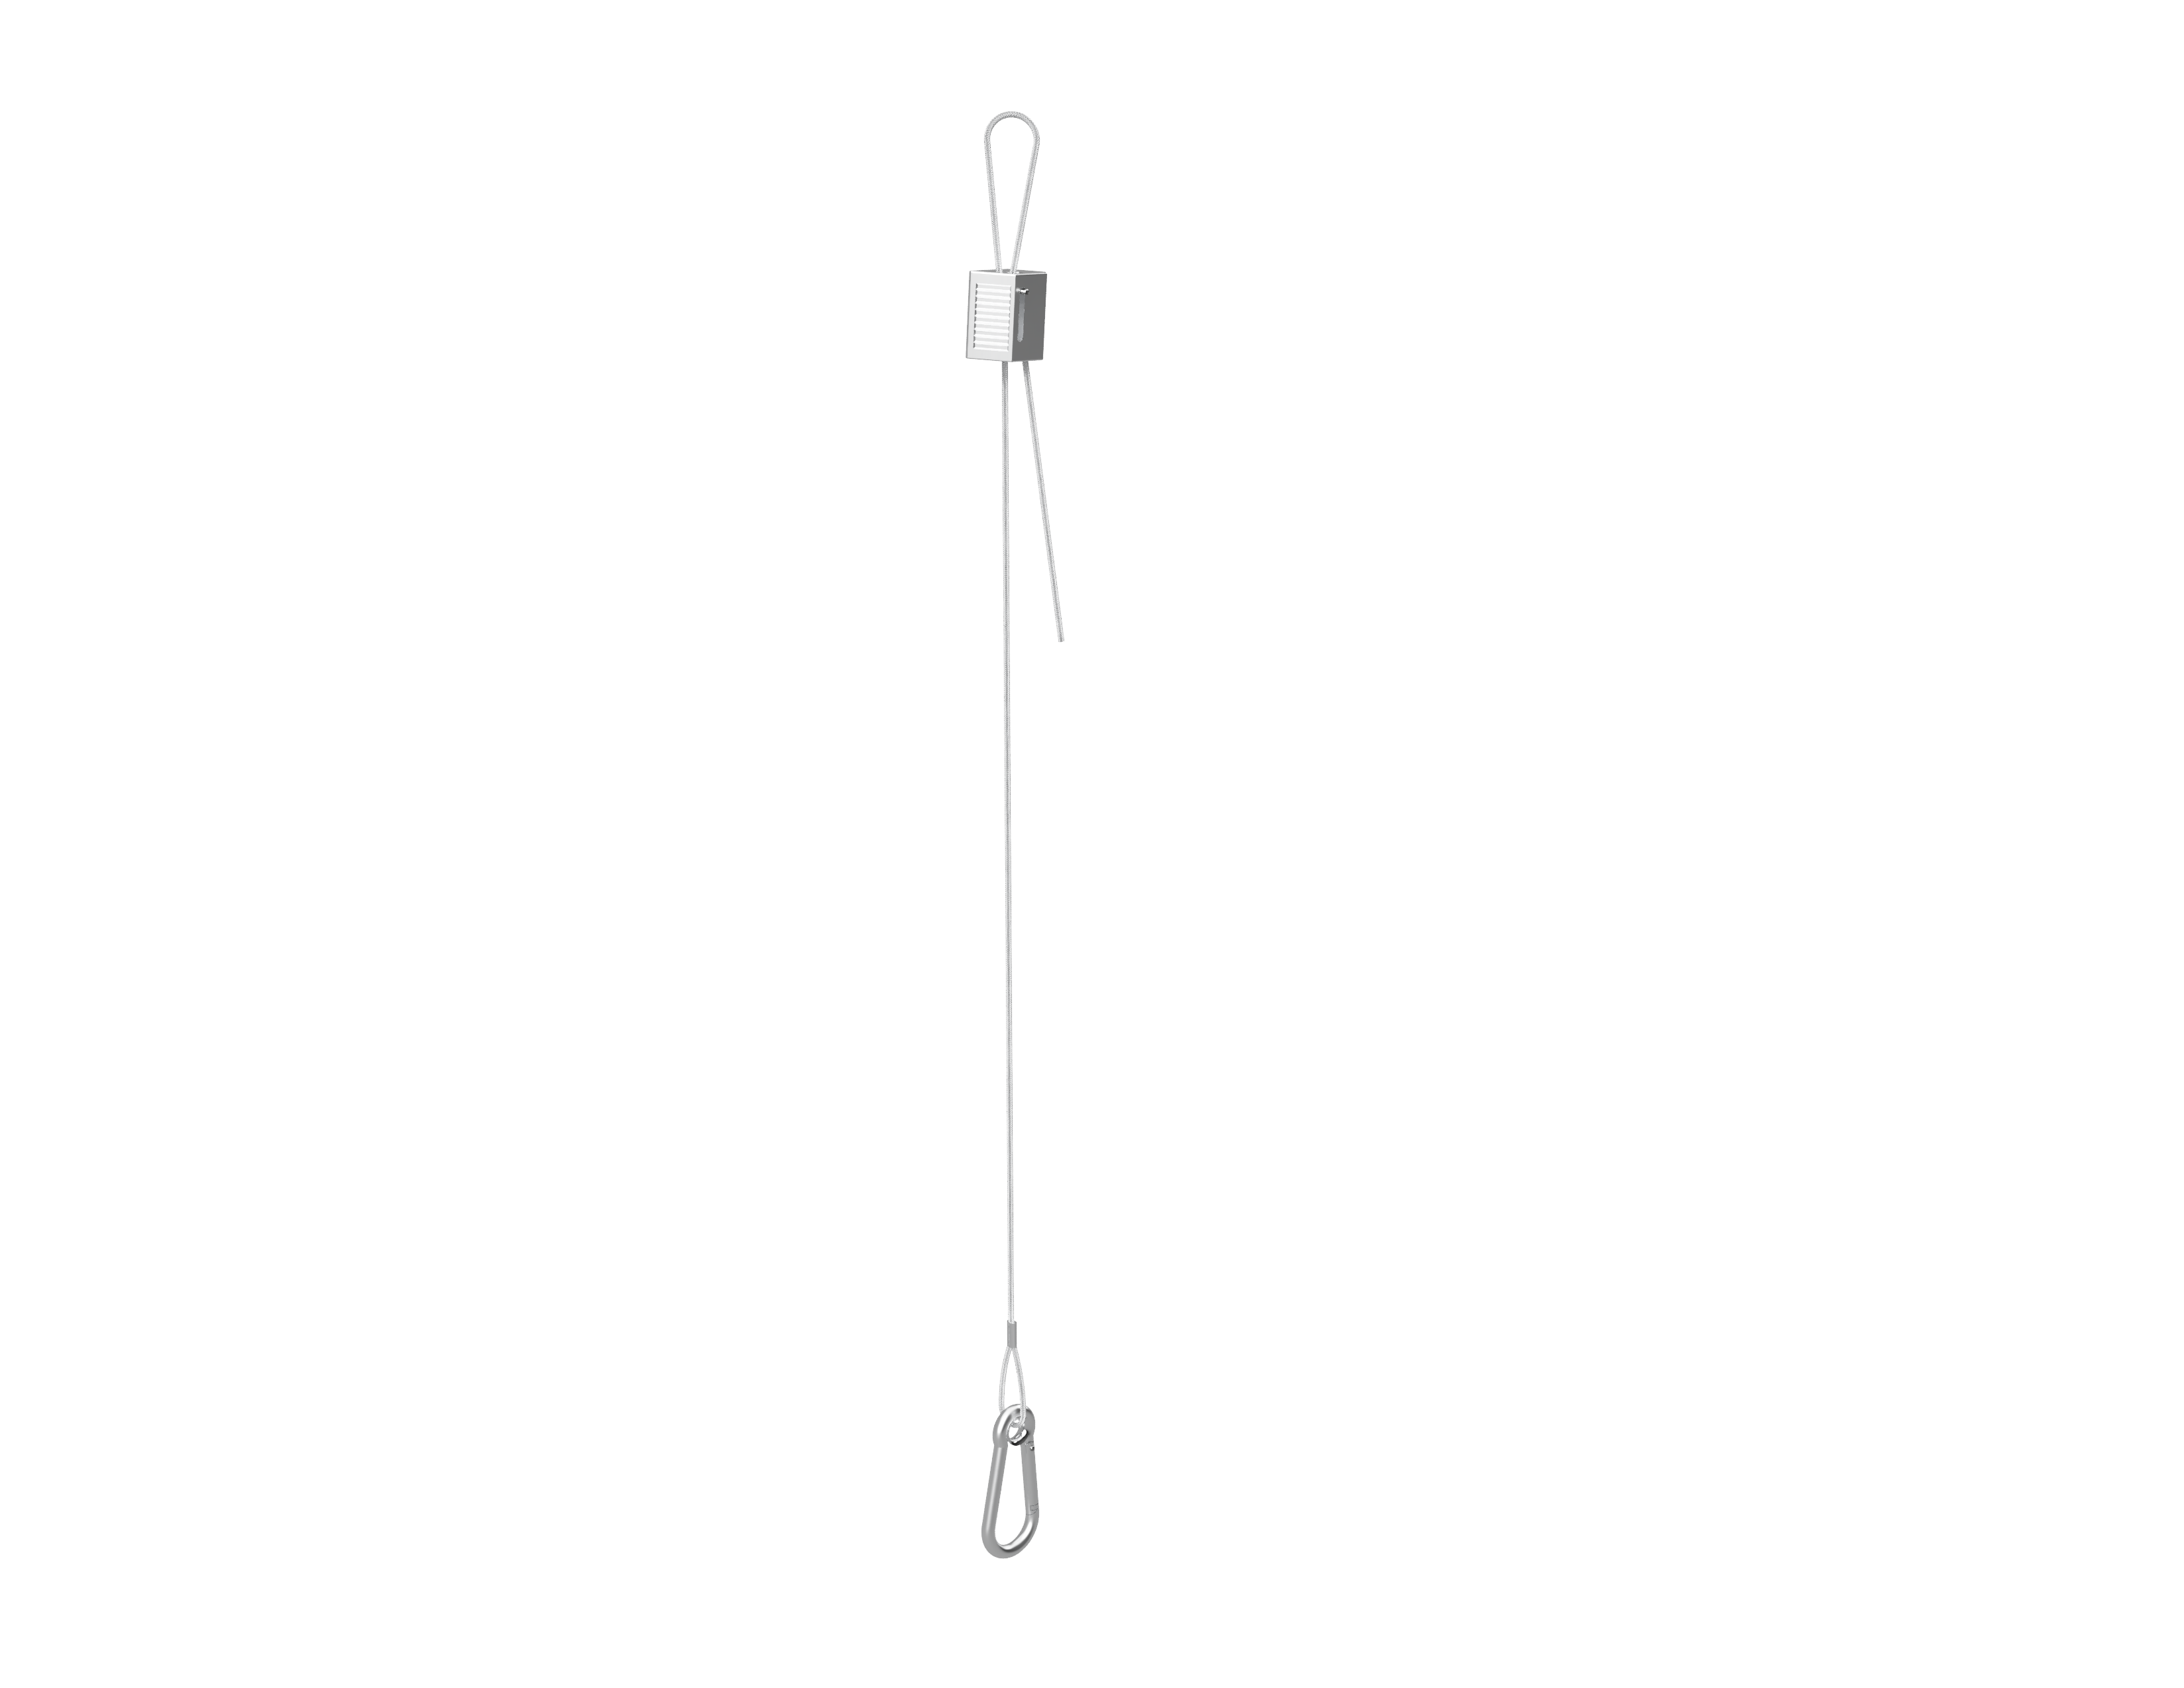
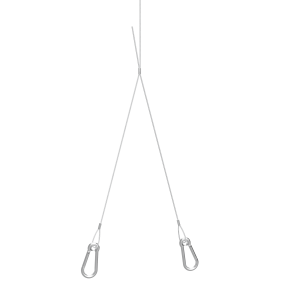
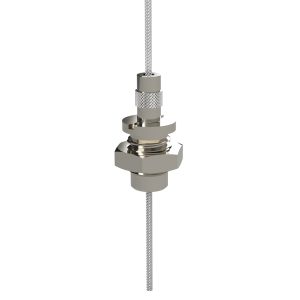
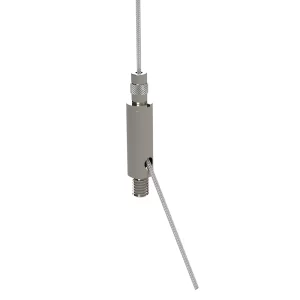
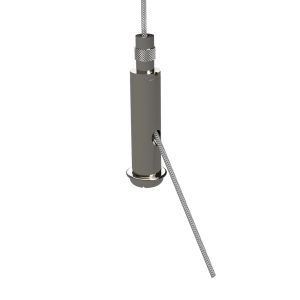
Each system comprises a predetermined length of a specific diameter wire rope and is supplied with the required Zip-Clip locking device.
Snap-It is available for drop lengths of 1 m to 10 m. Loads indicated are per individual wire support when coupled with the appropriate locking device.
SAFE WORKING LOADS
- G 15 kg
- S 45 kg
- Y 90 kg
AREAS FOR USE
The standard Snap-It range is designed for indoor applications. Regular galvanised systems should not be used in areas that have levels of corrosion or elevated levels of heat or moisture.
For installations that are within corrosive areas consult with Zip-Clip Technical Department.
INSTALLATION
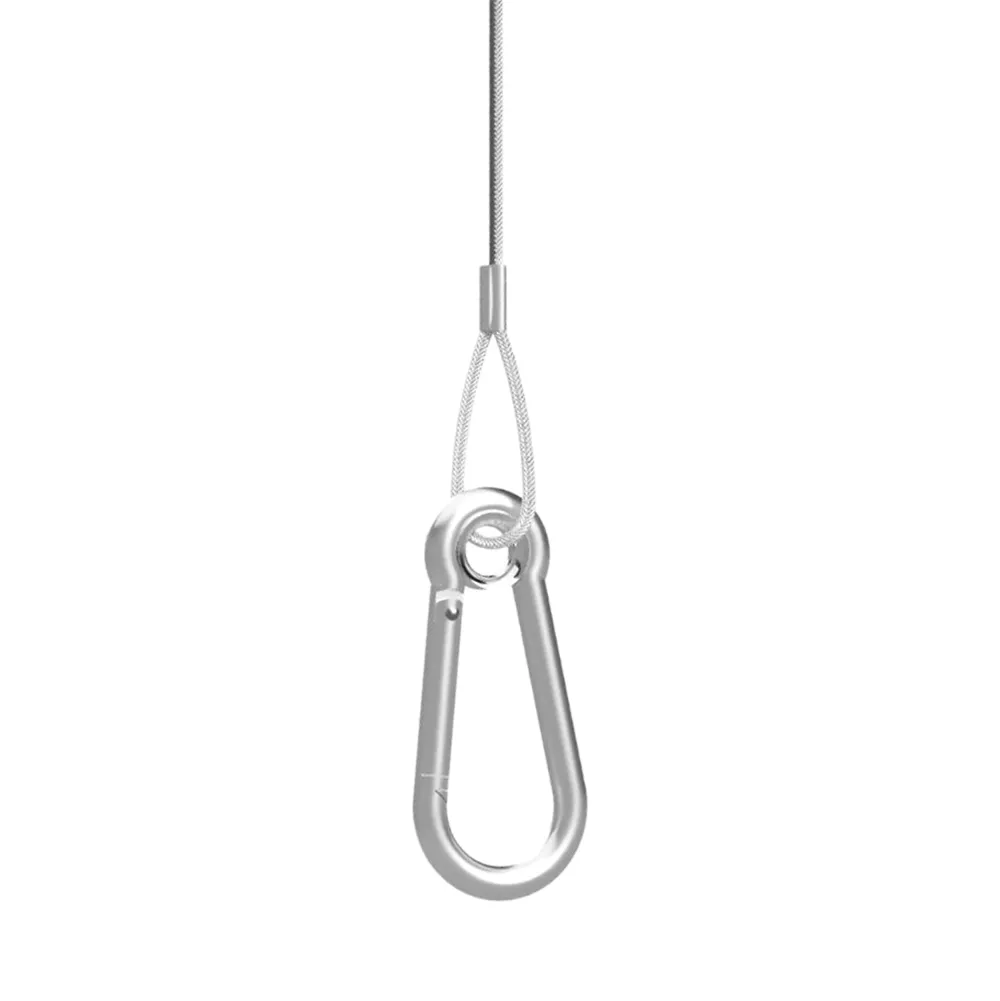
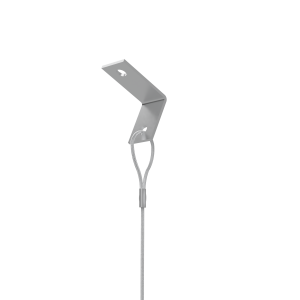
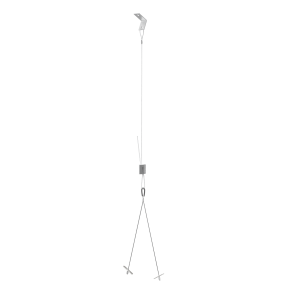
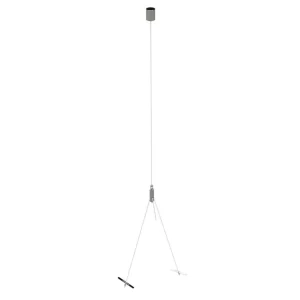
Use the carabiner termination to attach a wire suspension to the ceiling material or invert the suspension to attach to the intended application.
- The first step of the installation process is to attach the wire support to the anchor point (ceiling).
- The second step in the installation process is to fit the Zip-Clip locking device and connect to the intended application
STEP 1
- Confirm the chosen anchor point is compatible with the carabiner.
- Fully open the snap gate of the carabiner.
- Pass the hook of the carabiner through the anchor point.
- Ensure the snap gate fully shuts once the carabiner has been installed.
Note:
- Ensure carabiner is loaded along the longest axis only.
- Carabiner and wire suspension must be loaded along same axis.
- Do not load the carabiner with the snap gate open.
- Do not allow a point load to be applied to snap gate.
STEP 2
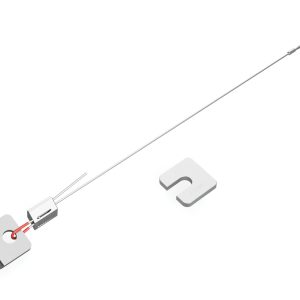
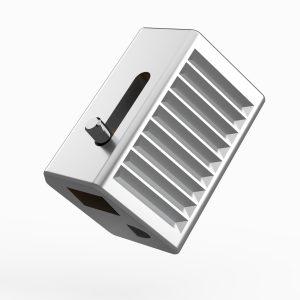
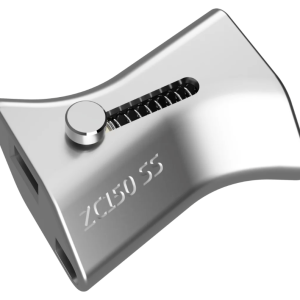
- Pass the wire rope through the Zip-Clip device in the direction of the arrow.
- Pass wire rope through or around your required fixture/application and back through the Zip-Clip leaving 15 cm of wire protruding.
- Confirm engagement of the Zip-Clip on the wire by pushing the pin in the opposite direction to the arrows indicated.


